The Christkind's Ingenious Snail Mail Solution - To the next level

Chapter: A Fresh Approach with .NET 9
After a restful night, the Christkind woke up feeling refreshed but not entirely satisfied. As she sipped her hot cocoa, her thoughts drifted back to her recent cloud flow solution. While the idea of connecting to M365 and utilizing a filesystem trigger was promising, the hybrid connection had proven to be more complicated than she had anticipated.
“Why am I trying to fit a square peg into a round hole?” she mused, gazing out the window at the snow gently falling outside. The fileserver was already a Windows Server, and it seemed logical to leverage its capabilities directly. The Christkind contemplated the power of .NET 9 and the possibility of creating a more seamless solution.
A New Idea Takes Shape
As inspiration struck, the Christkind’s excitement grew. “What if I built a Windows service using .NET 9? It could utilize a filesystem watcher to monitor the folder where the scanned letters are stored, allowing me to handle new files as soon as they arrive!” The thought filled her with enthusiasm.
She envisioned the service running quietly in the background, tirelessly watching for new letters while she focused on more important tasks—like preparing gifts and spreading joy. With this new approach, she could streamline the process even further, avoiding any potential complications from hybrid connections.
The Power of .NET 9
The Christkind gathered her thoughts and began outlining her plan:
-
Windows Service: By creating a Windows service, she could ensure that the system would be robust and reliable. This service would run independently, constantly monitoring the designated folder.
-
Filesystem Watcher: Utilizing the filesystem watcher functionality in .NET 9, the service would instantly detect when new files were added. This immediate response would allow her to process incoming letters without delay.
-
Direct Integration: By keeping everything on the Windows Server, she could reduce complexity and improve performance. The service would directly interact with the custom application, ensuring that each letter was categorized and stored in Dataverse efficiently.
The Joy of Simplicity
With a clear plan forming in her mind, the Christkind felt a wave of relief wash over her. This new approach not only simplified the process but also allowed her to use the latest technology to her advantage. The possibilities seemed endless as she imagined the impact this would have on her operations.
“Why didn’t I think of this sooner?” she chuckled to herself. The frustration of the previous solution melted away as excitement bubbled up within her. She was ready to dive into the world of .NET 9 and build a service that would help her achieve her goal of making this Christmas Eve the most magical yet.
With a renewed sense of purpose, the Christkind set to work on her new project, eager to embrace the power of modern technology and streamline her operations for the joy of children everywhere.
After Deployment on Test the christkind went to bad it was a long hard day
Implementation in Visual Studio
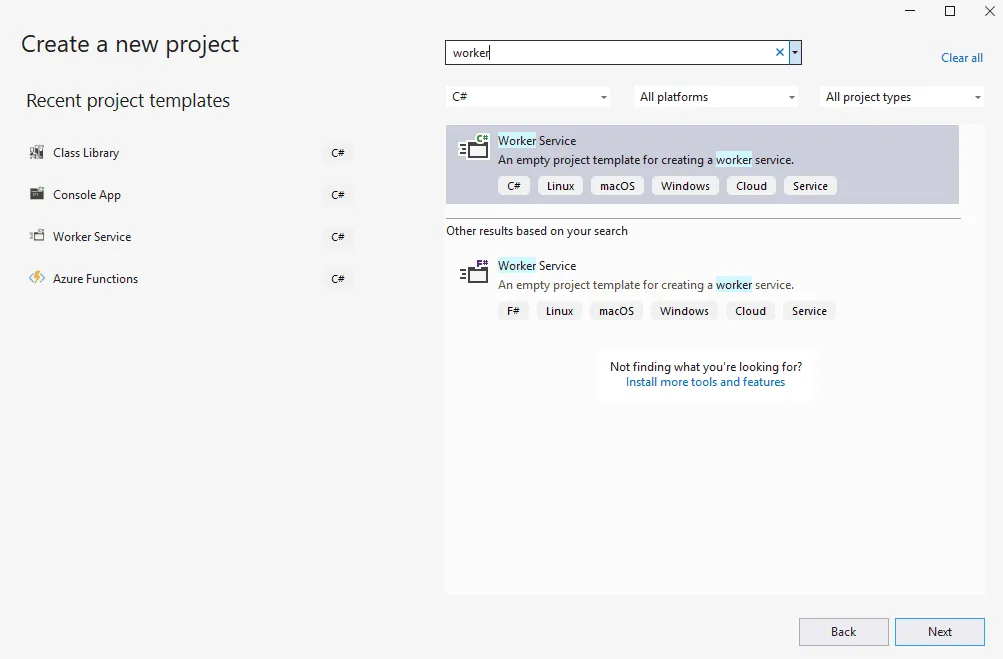
Create a new Worker Service: In Visual Studio, create a new Worker Service project. This project template is ideal for building background services in .NET.
Add the necessary using directives:
Ensure you have the following namespaces included at the top of your Worker class file.
using System;
using System.IO;
using System.Threading;
using System.Threading.Tasks;
using Microsoft.Extensions.Hosting;
using Microsoft.Extensions.Logging;
Implement the Worker class:
Below is a sample implementation of the Worker class that uses a FileSystemWatcher to monitor a directory for new files.
public class FileWatcherWorker : BackgroundService
{
    private readonly ILogger<FileWatcherWorker> _logger;
    private FileSystemWatcher _fileSystemWatcher;
    private readonly string _watchPath = @"C:\Path\To\Your\WatchFolder"; // Change this to your target directory

    public FileWatcherWorker(ILogger<FileWatcherWorker> logger)
    {
        _logger = logger;
    }

    protected override Task ExecuteAsync(CancellationToken stoppingToken)
    {
        _fileSystemWatcher = new FileSystemWatcher(_watchPath)
        {
            Filter = "*.txt", // Adjust the filter according to the type of files you want to monitor
            NotifyFilter = NotifyFilters.FileName | NotifyFilters.LastWrite
        };

        _fileSystemWatcher.Created += OnNewFileCreated;
        _fileSystemWatcher.EnableRaisingEvents = true;

        return Task.CompletedTask;
    }

    private void OnNewFileCreated(object sender, FileSystemEventArgs e)
    {
        // This method will be called when a new file is created
        _logger.LogInformation($"New file detected: {e.FullPath}");

        // Implement the logic to process the new file
        ProcessNewFile(e.FullPath);
    }


    public override Task StopAsync(CancellationToken stoppingToken)
    {
        _fileSystemWatcher.Dispose();
        return base.StopAsync(stoppingToken);
    }
}
Adding a Method to Process the File Upload
This method will read the content of the new file, convert it to a Base64 string, and then upload it to a specified endpoint using an HTTP POST request.
Here is the implementation of the ProcessNewFile method:
 private void ProcessNewFile(string filePath)
    {
        // Logic to handle the new file (e.g., read the content, send to a database)
        // For demonstration, we'll just log the file name
        _logger.LogInformation($"Processing file: {filePath}");


        // Load the file content
        var fileContent = File.ReadAllBytes(filePath);

        // Convert the file content to Base64
        var base64Content = Convert.ToBase64String(fileContent);

        // Prepare the JSON payload
        var payload = new
        {
            Desription = "Uploaded from C#",
            Content = base64Content
        };

        // Serialize the payload to JSON
        var jsonPayload = JsonSerializer.Serialize(payload);

        // Upload the file using HttpClient
        using var httpClient = new HttpClient();
        var content = new StringContent(jsonPayload, Encoding.UTF8, "application/json");
        var response = await httpClient.PostAsync("https://christkind.io/api/uploadbase64", content);

        if (response.IsSuccessStatusCode)
        {
            _logger.LogInformation($"File {filePath} uploaded successfully.");
        }
        else
        {
            _logger.LogError($"Failed to upload file {filePath}. Status Code: {response.StatusCode}");
        }
    }
Configure the Worker Service:
In your Program.cs, make sure to add the worker service to the service collection:
using Microsoft.Extensions.DependencyInjection;
using Microsoft.Extensions.Hosting;

public class Program
{
    public static void Main(string[] args)
    {
        CreateHostBuilder(args).Build().Run();
    }

    public static IHostBuilder CreateHostBuilder(string[] args) =>
        Host.CreateDefaultBuilder(args)
            .ConfigureServices((hostContext, services) =>
            {
                services.AddHostedService<FileWatcherWorker>();
            });
}
Run the Service:
To run the Windows Service, you will need to publish your application and then install it as a service using the sc command or similar tools.
Publishing the Service
Publish your application:
- Right-click your project in Visual Studio and select Publish.
- Choose the target location and settings.
Install the service: Open a command prompt with administrative privileges and use the following command to install the service:
sc create ChristmasLetterUpload binPath= "C:\temp\Published\ChristmasLetterUpload.exe"Start the service: Use the following command to start your service:
sc start ChristmasLetterUploadRemark
Nowadays, it’s quite easy to create a service with Visual Studio tooling. Deleting the file after processing it is missing, but not everything is perfect.
Links
- 1: The Challenge of the Letters
- 2: The Christkind’s Data Transformation - Transforming Letters into Forms
- 3: The Christkind’s Magical Email Solution
- 4: The Christkind’s Magical PWA - Transforming Children’s Letters into Digital Art
- 5: The Christkind’s Ingenious Snail Mail Solution - Bringing Letters to Life
- 6: The Christkind’s Ingenious Snail Mail Solution - Embracing the Flow